How to Batch Replace Smartobjects in Photoshop
By Usama Saad · Updated Aug 28, 2026
Prepare a compatible PSD, choose artwork, control fit and alignment, and replace smartobjects across a Photoshop batch.
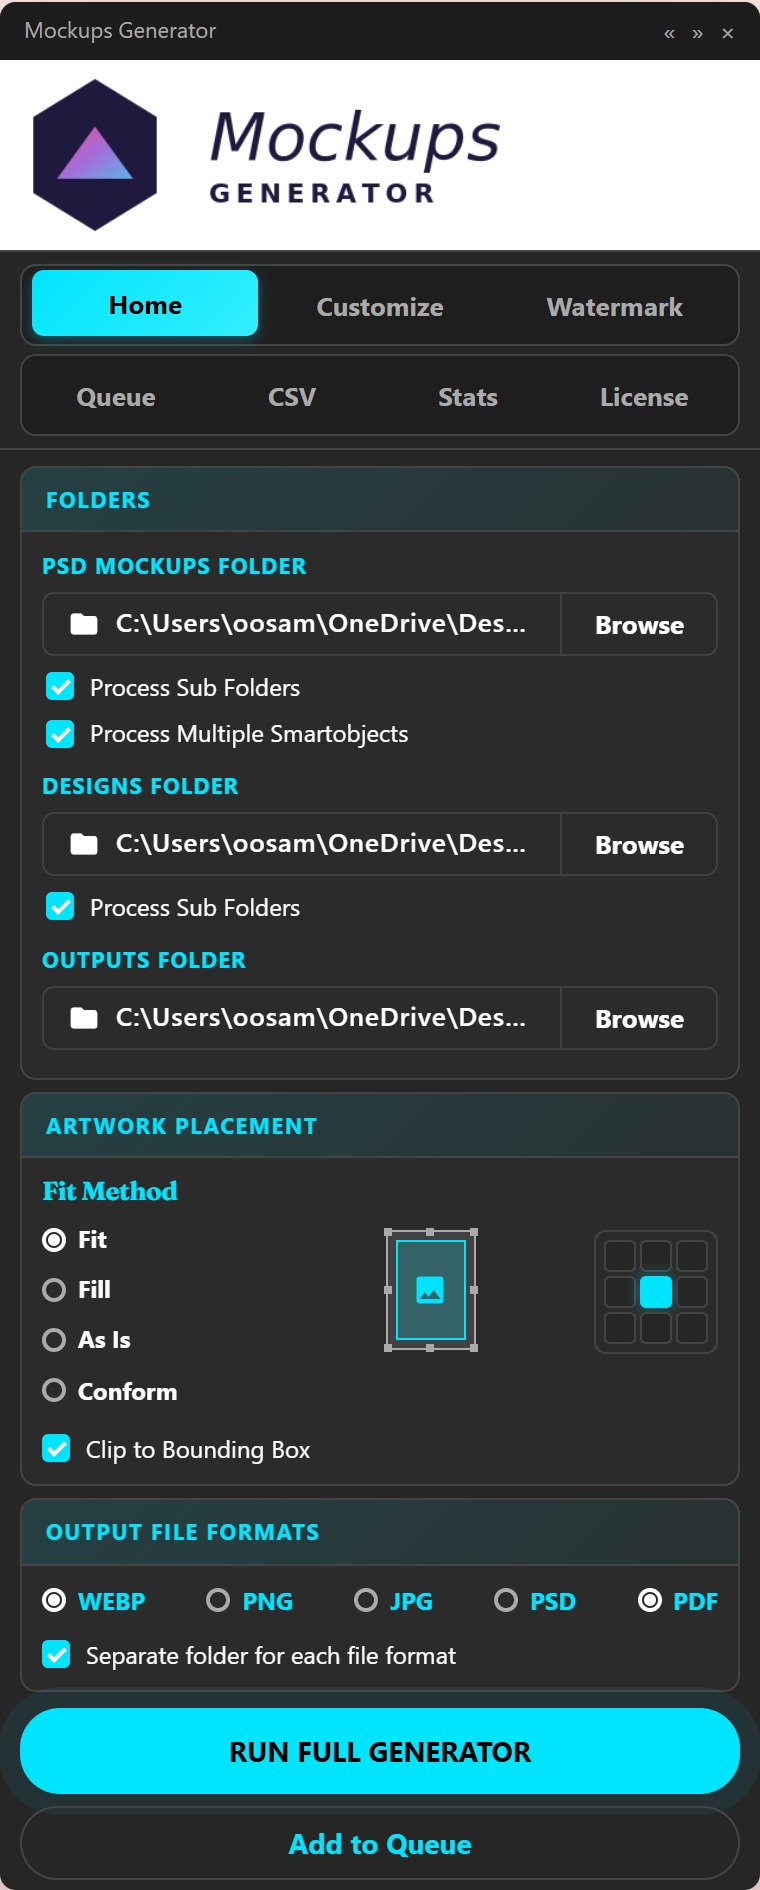
Batch replacing a Photoshop smartobject turns a repeated open, edit, save, and export loop into one controlled production job. The safest workflow starts with a small PSD and artwork sample before you process a full collection.
What you need
- Photoshop 2023 (24.0) or newer on Windows or macOS
- PSD mockup templates with compatible smartobject artwork slots
- PNG, JPG, or other supported artwork files
- A separate output folder
Understand the manual workflow first
In Photoshop, the native process is to open a PSD, double-click the smartobject thumbnail, place the new artwork, save the smartobject document, return to the main PSD, and export the finished image. This works well for one or two files. It becomes difficult to audit when the same sequence must be repeated across many designs and templates.
Automation does not remove the need for a valid PSD. It repeats a workflow that already works manually.
Step 1: inspect the PSD smartobject
Open one template and identify the layer that controls the artwork. Double-click it and confirm that changing its contents updates the mockup correctly. Check whether masks, perspective, lighting, and layer effects remain intact.
If the template has several independent artwork slots, use a multiple-smartobject workflow instead of assuming one replacement will update every location.
Step 2: organize templates, designs, and outputs
Create separate folders for PSD templates, artwork files, and generated outputs. Use clear filenames and remove temporary or unrelated files. A simple test folder with one PSD and two designs makes problems easier to diagnose.
Step 3: select a targeting mode
Choose the top smartobject for a simple PSD, all compatible targets for a repeated-design workflow, or named mappings when layer identity matters. Keep layer names consistent across related templates.
Step 4: choose fit and alignment
- Fit keeps the entire design visible.
- Fill covers the target area and can crop the edges.
- Conform stretches artwork to the target dimensions.
- Native size retains the source scale.
Use the alignment grid to position artwork when the aspect ratios differ. Photoshop guides can define a printable region when the smartobject canvas contains extra space.
Step 5: run and inspect a sample
Generate the small test batch. Check crop, placement, layer effects, filenames, color, and export quality. Correct the PSD or job settings before adding the remaining files.
Step 6: run the production batch
Add the complete folders only after the sample is correct. Keep editable PSD output when the results need later adjustment, and use WEBP, PNG, or JPG for delivery and storefront workflows.
Common limitations
Flat JPG mockups without smartobjects cannot use PSD smartobject replacement. Linked and independent smartobjects can behave differently. Fonts, missing artwork, unusual layer structures, and unsupported PSD features should be tested before a long unattended run.
Learn about the full batch workflow or try 150 lifetime generations.
Continue with Photoshop mockup automation
Browse all Photoshop tutorials, explore the Photoshop bulk mockup generator, or try 150 lifetime generations free.